Black & Decker Coffee Maker: A Comprehensive Manual
This guide provides detailed instructions for optimal use, maintenance, and troubleshooting of your Black & Decker coffee maker, ensuring consistently delicious brews.
Understanding Your Coffee Maker Model
Black & Decker offers a diverse range of coffee makers, each designed with specific features to cater to varying brewing preferences. Before operation, identify your exact model number – typically found on the appliance’s underside. This number is crucial for accessing model-specific support and replacement parts.
Different models boast varying capacities, programmable functions, and brewing technologies. Some feature automatic shut-off for safety, while others include programmable timers for convenient wake-up coffee. Familiarize yourself with the control panel and indicator lights. Understanding these elements will unlock the full potential of your Black & Decker coffee maker, ensuring a personalized and satisfying coffee experience. Refer to the included documentation for detailed specifications related to your specific unit.
Initial Setup and First Use
Before your first brew, thoroughly clean all removable parts – the carafe, filter basket, and water reservoir – with warm, soapy water. Rinse completely and dry. This removes any manufacturing residue. Place the coffee maker on a stable, level surface.
Fill the water reservoir with the maximum recommended amount of fresh, cold water and run a full brewing cycle without coffee grounds. This initial cycle cleans the internal components. Discard the water. Repeat this process once more. Your Black & Decker coffee maker is now primed and ready for brewing! This ensures the purest coffee flavor from your very first pot, eliminating any potential off-tastes.
Parts Identification

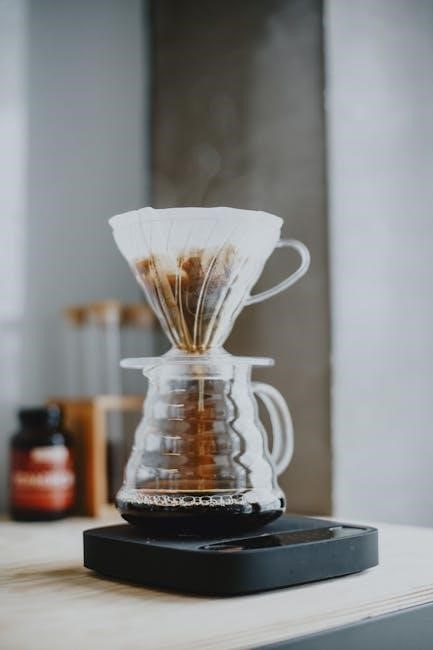
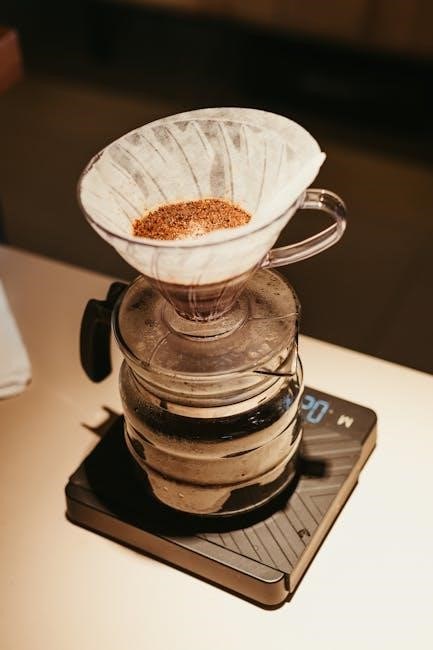
Familiarizing yourself with your coffee maker’s components is crucial for proper operation and maintenance. The Carafe is the glass or thermal container that collects the brewed coffee. Its lid ensures heat retention and prevents spills. The Filter Basket securely holds a paper filter or reusable filter, containing the coffee grounds during brewing.
The Water Reservoir stores the water used for brewing, clearly marked with water level indicators. Other key parts include the power switch, brew button, and potentially a programmable timer display. Understanding each part’s function will streamline your coffee-making experience and simplify cleaning procedures. Refer to the diagram for visual identification.
Carafe and Lid
The carafe is designed for safe and efficient coffee collection. Always ensure the carafe is properly seated on the warming plate before initiating the brewing cycle. The lid, typically made of plastic or glass, fits snugly onto the carafe to maintain coffee temperature and prevent accidental spills during pouring.
Handle the carafe with care, as glass carafes can be fragile. Avoid sudden temperature changes, such as pouring cold water into a hot carafe, to prevent cracking. Regularly inspect the lid for cracks or damage, replacing it if necessary. Proper care extends the lifespan of both the carafe and lid.
Filter Basket

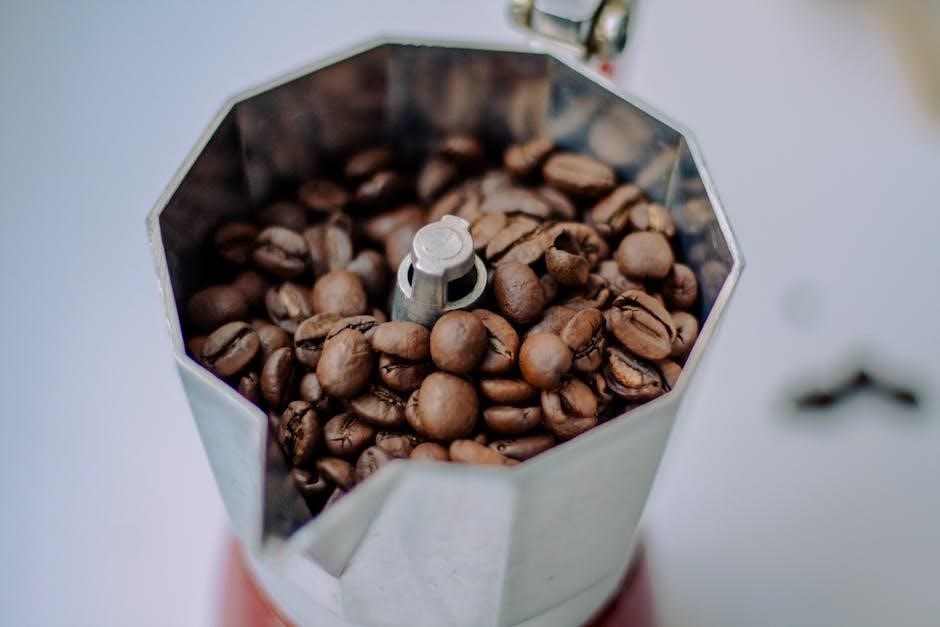
The filter basket securely holds the coffee filter during the brewing process. It’s typically a removable component, allowing for easy disposal of used coffee grounds and cleaning. Black & Decker coffee makers often accommodate standard cone-shaped filters, though some models may require specific filter types – check your model’s specifications.
Ensure the filter basket is correctly positioned before adding water and coffee grounds. A properly seated basket prevents grounds from overflowing into the carafe. Regularly clean the filter basket with warm, soapy water to remove coffee residue and oils, which can affect the taste of future brews.
Water Reservoir
The water reservoir stores the water used for brewing coffee. It’s usually a detachable component, marked with clear water level indicators to help you brew the desired amount of coffee. Always fill the reservoir with fresh, cold water for optimal brewing temperature and flavor extraction.
Avoid overfilling the reservoir beyond the maximum fill line. Regularly clean the water reservoir to prevent mineral buildup, which can affect performance and taste. Descaling the reservoir periodically, as detailed in the maintenance section, is crucial for longevity. Ensure the reservoir is securely in place before starting the brewing cycle.
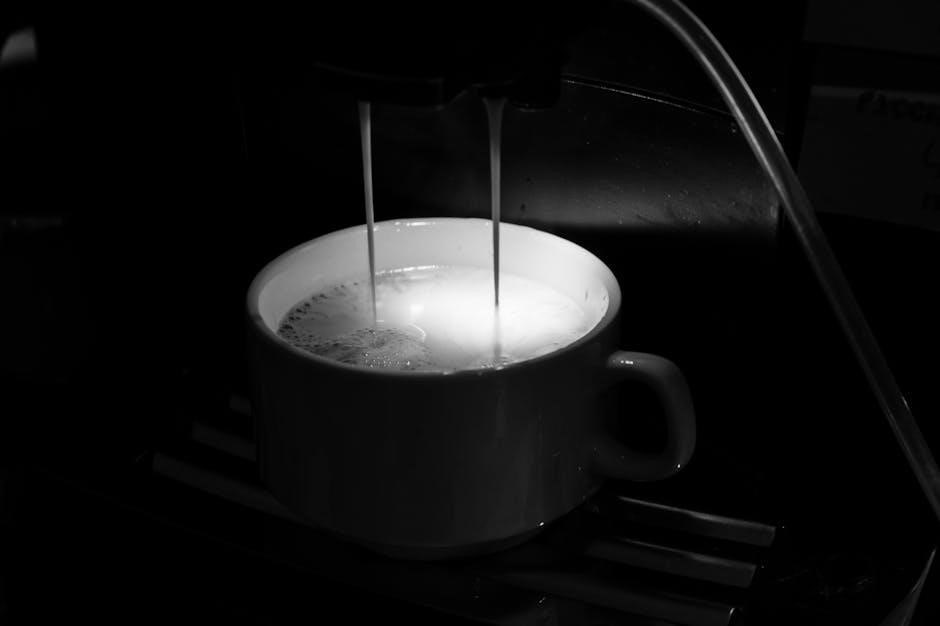
Brewing Coffee: Step-by-Step Guide
Begin by filling the water reservoir with the desired amount of fresh, cold water. Next, insert a paper filter (or reusable filter) into the filter basket. Add ground coffee to the filter, using approximately one tablespoon per cup, adjusting to your preference. Ensure the carafe is properly positioned on the warming plate.
Close the lid securely and press the power button to initiate the brewing cycle. The coffee maker will automatically heat the water and brew the coffee. Once brewing is complete, the unit may switch to a warming cycle. Carefully pour and enjoy your freshly brewed coffee!
Cleaning and Maintenance
Regular cleaning ensures optimal performance and longevity of your Black & Decker coffee maker. After each use, discard the used coffee grounds and rinse the filter basket and carafe with warm, soapy water. The carafe and lid are typically dishwasher safe (top rack recommended). Wipe down the exterior of the coffee maker with a damp cloth.
Periodically, descale the coffee maker to remove mineral buildup. This can be done using a commercial descaling solution or a mixture of equal parts white vinegar and water. Run a full brewing cycle with the descaling solution, followed by two cycles with fresh water to rinse thoroughly.
Daily Cleaning Procedures
Consistent daily cleaning is crucial for maintaining the quality of your brewed coffee and extending the life of your Black & Decker coffee maker. Immediately after each brewing cycle, discard used coffee grounds from the filter basket. Rinse the basket and the carafe thoroughly with warm, soapy water. Ensure all coffee residue is removed.
The carafe lid is also dishwasher safe, offering a convenient cleaning option. Wipe down the exterior of the coffee maker with a soft, damp cloth to remove any spills or splatters. Avoid abrasive cleaners, as they can damage the finish. A quick daily routine prevents buildup and ensures fresh-tasting coffee.
Descaling Your Coffee Maker
Over time, mineral deposits from water can accumulate inside your Black & Decker coffee maker, affecting performance and coffee flavor. Descaling removes these deposits. Mix equal parts white vinegar and water, then pour the solution into the water reservoir. Run a full brewing cycle without coffee grounds.
Repeat this process with fresh water two to three times to rinse away any remaining vinegar taste and odor. Descale every 1-3 months, depending on water hardness. Regular descaling ensures optimal brewing temperature, prevents clogs, and prolongs the lifespan of your appliance, guaranteeing consistently delicious coffee.
Troubleshooting Common Issues
Encountering problems with your Black & Decker coffee maker? If the unit won’t turn on, check the power cord and outlet. Ensure the carafe is properly positioned. For slow brewing, mineral buildup might be the culprit – descale the machine. If coffee overflows, avoid overfilling the filter basket.
Weak coffee often indicates insufficient coffee grounds; adjust the amount used. A burning smell suggests residue buildup; run a cleaning cycle. If issues persist, consult the warranty information or contact Black & Decker support for assistance. Regular maintenance prevents many common problems.
Coffee Maker Not Turning On
If your Black & Decker coffee maker fails to power on, several checks are necessary. First, verify the power cord is securely plugged into a functioning electrical outlet. Test the outlet with another device to confirm it’s providing power. Ensure the coffee maker’s on/off switch is fully engaged.
Check if the carafe is correctly positioned on the warming plate; a safety mechanism prevents operation without it. Inspect the power cord for any visible damage. If problems continue, avoid attempting self-repair and consult the warranty information or Black & Decker support for professional assistance.
Coffee Brewing Too Slowly
Slow brewing with your Black & Decker coffee maker often indicates mineral buildup or a blockage. Begin by descaling the unit, as mineral deposits restrict water flow. Ensure the filter basket isn’t overfilled or clogged with coffee grounds. Use the recommended coffee-to-water ratio; excessive grounds can impede the brewing process.
Verify the spray head within the water reservoir isn’t obstructed. If the issue persists after descaling and checking the filter, contact Black & Decker support. Avoid using abrasive cleaners, as they can damage internal components and worsen the problem.
Advanced Features (If Applicable)
Certain Black & Decker coffee maker models boast programmable features for enhanced convenience. The programmable timer allows you to set a future brew start time, waking up to freshly brewed coffee. Explore the control panel for timer setting options, typically involving hour and minute adjustments.
An automatic shut-off function provides safety and energy conservation, turning the unit off after a set period. Refer to your specific model’s instructions for shut-off duration. These features streamline your coffee routine, offering customized brewing experiences; Always consult the detailed manual for precise operation.
Programmable Timer Settings
To utilize the programmable timer, first ensure the current time is correctly set on your Black & Decker coffee maker. Access the “Program” or “Timer” button – its location varies by model. Press and hold to enter programming mode. Use the hour and minute buttons to designate your desired brew start time.

Confirm your selection, often with an “OK” or “Select” button. The indicator light will illuminate, confirming the timer is active. Ensure sufficient water and ground coffee are present before the programmed time. Refer to your model’s manual for specific button layouts and programming sequences.
Automatic Shut-Off Function
Your Black & Decker coffee maker is equipped with an automatic shut-off feature for enhanced safety and energy conservation. Typically, the unit will automatically power down after a period of inactivity, usually two hours after brewing is complete. This prevents overheating and potential hazards.
The exact duration may vary depending on the specific model; consult your user manual for precise timing; This function operates independently and cannot be manually disabled. It’s a crucial safety feature, but remember to unplug the appliance when not in use for extended periods, providing an extra layer of security.
Safety Precautions
To ensure safe operation of your Black & Decker coffee maker, always follow these guidelines. Never immerse the appliance base in water or any other liquid. Avoid operating the coffee maker with a damaged cord or plug. Ensure the appliance is placed on a stable, heat-resistant surface.
Keep the coffee maker out of reach of children. Do not touch hot surfaces; use handles or knobs. Always unplug the appliance before cleaning. Be cautious when handling hot coffee and the carafe. Never operate the coffee maker without water in the reservoir. Regular inspection of the cord is vital for preventing electrical hazards.

Warranty Information
Black & Decker provides a limited warranty on this coffee maker, covering defects in materials and workmanship for a period of two years from the date of original purchase. This warranty does not cover damage resulting from misuse, accidents, or unauthorized repairs.
To make a warranty claim, retain your proof of purchase and contact Black & Decker customer support. The warranty covers repair or replacement of the defective product, at Black & Decker’s discretion. Shipping costs to and from the service center are the responsibility of the consumer. This warranty gives you specific legal rights.
Frequently Asked Questions (FAQ)
Q: Why isn’t my coffee maker brewing? A: Ensure the unit is plugged in, the water reservoir is filled, and the carafe is properly positioned. Check the power switch and confirm it’s turned on.
Q: Can I use any type of filter? A: We recommend using Black & Decker #4 cone filters for optimal performance. Other filters may affect brew quality. Q: How often should I descale? A: Descale every 3-6 months, depending on water hardness, to remove mineral buildup. Q: Is the carafe dishwasher safe? A: Yes, the carafe and lid are dishwasher safe (top rack).

Replacing Parts
Genuine Black & Decker replacement parts ensure continued optimal performance of your coffee maker. Carafes, lids, filter baskets, and water reservoirs are commonly replaced due to breakage or wear. To order parts, visit the Black & Decker website or authorized retailers, providing your model number for accurate selection.
Always disconnect the coffee maker from power before replacing any parts. Improper installation can cause damage or malfunction. Replacement carafes should be heat-resistant glass. Filter baskets are typically made of durable plastic. Regularly checking and replacing worn parts extends the lifespan of your appliance and maintains brew quality.
Recipes & Coffee Brewing Tips
Elevate your coffee experience beyond the standard brew! Experiment with different coffee-to-water ratios to find your perfect strength. For a bolder flavor, use a darker roast or increase the coffee grounds. Try adding a pinch of cinnamon or cocoa powder to the filter for a delightful twist.
Iced coffee is easily made by brewing double-strength coffee and chilling it. Consider using filtered water for the purest taste. Regularly cleaning your coffee maker prevents mineral buildup, ensuring optimal flavor extraction. Explore flavored syrups and creamers to personalize your creations and enjoy!
Contacting Black & Decker Support
For assistance with your Black & Decker coffee maker, several support options are available. Visit the official Black & Decker website for a comprehensive FAQ section and troubleshooting guides. You can also access downloadable manuals and register your product for warranty coverage.
Direct customer support is accessible via phone during business hours. An online contact form allows you to submit inquiries and receive email responses. Be prepared to provide your model number and purchase date when contacting support. Explore online forums and communities for peer-to-peer assistance and shared solutions.